Documentation
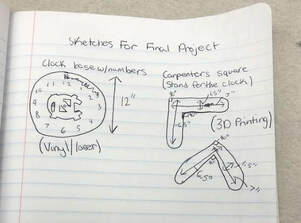
- The guidelines of this project were while given a clock mechanism, create the body and numbers of a clock using at least three of the machines in the Innovation Center. My original idea was to create a star outline and then put the numbers in between the spaces in the clock. I would then line up the numbers 60 degrees apart from one another in the shape of the circle adding up to 360 degrees total. I would cut the numbers out in the shape of a circle on the vinyl and then transfer them onto the that that the cut out on the laser. Finally, I would 3D print off a mount to hold up my clock in the shape of a carpenters square with rounded edges so that it would stand up nicely. However, due to the star frame not being able to work out, I stuck with the rest of my original idea and just changed the base to the shape of the circle since that would work best with the time that I had. For the project, I already had past sheets on the guidelines for using the different machines so by following those, I was able to complete it with little resistant.
Sketches |
|
How The Project Was Completed
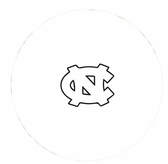
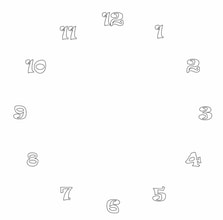
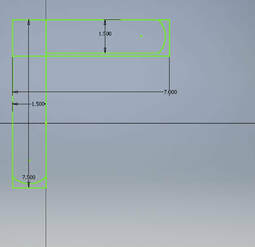
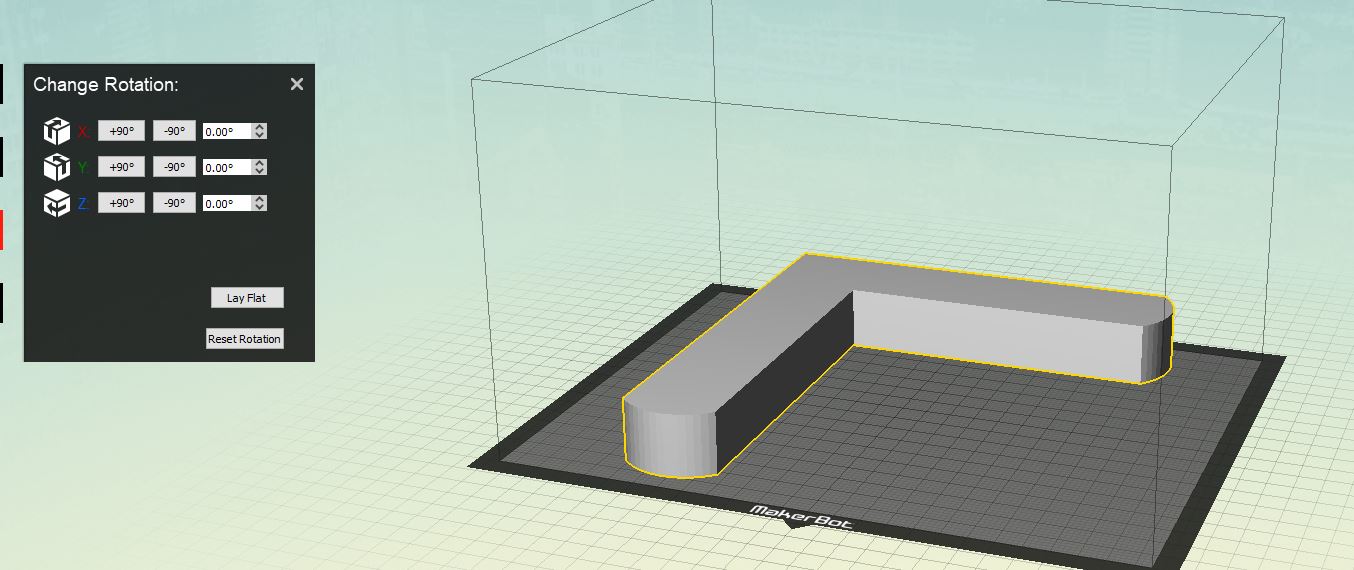
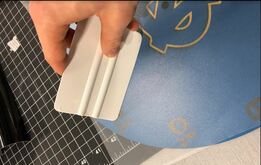
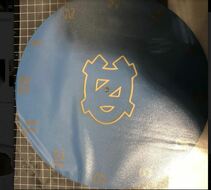
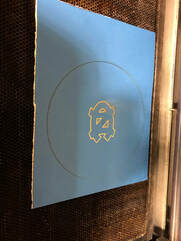
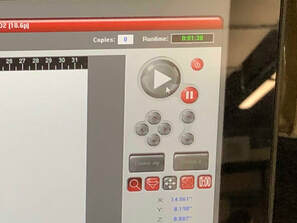
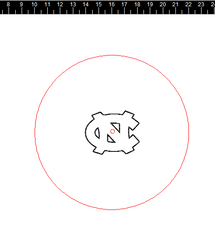
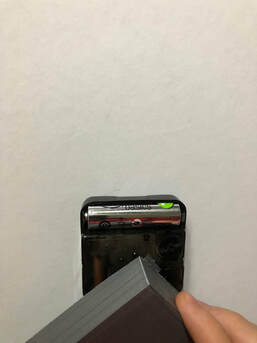
- Once I got my blueprint done, I went straight to work. I constructed the numbers on a Illustrator document and made sure that they were no more than .75 inches in length. and for each number you rotate 60 degrees (60 goes into 360 12 times which works perfect for a clock). Once I saved the completed that and save it on to my h-drive, I stayed on Illustrator and then began working on the base of my clock. I made the circle base with a 12 inch diameter for the longest hand on the clock is about 5.5 inches and for it to go around completely with space not entirely overlapping the numbers, 12 inches I felt would be most appropriate. I then made a smaller circle inside the circle by first going to Illustrator and working on my clock numbers. After I choose the font I got all of the numbers (1-12) onto a template and then began to lined them up. The thing with this is, you have to begin by having a center point and once you get one number down, you just continue to copy the rest of of that in the center so that the point of the clock mechanism would be able to go through. I made that circle .32 inches in diameter. Finally, I thought since this is my personal clock that I could spice it up a little bit and by doing so, I put the logo of one of my favorite basketball teams (University of North Carolina Tar Heels) in the middle. I would engrave this though on the laser for if I were to cut it out it could make things to complicated. My final step was the 3D printing which was by far the smoothest step in the process. I opened up Inventor and a ipt document and then sketched what a type of carpenters square would look like. The carpenters square was 6.5 by 7 inches and 1.5 inches in thickness. I then added arcs to create the rounded edges that I wanted and once that was done, I extruded it out to 1.5 inches so that when it were to stand up, it would be able to balance nicely and hold the clock upright. Once all the computer work was done, I went down to each individual machine and followed the step by step sheets for each machine in order to complete what I what was necessary. through that came no cracks in the road and after assembling all of my parts together with the clock mechanism, I had a functionable clock.
Screenshots of the Digital Documents |
|

|
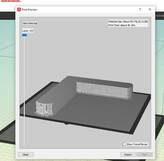
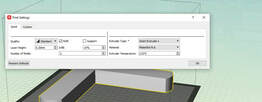
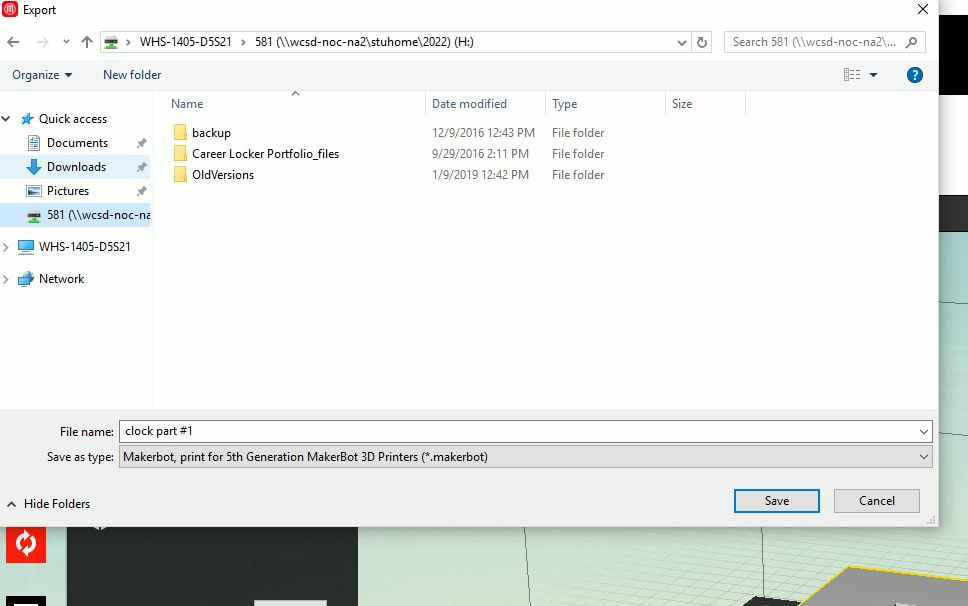
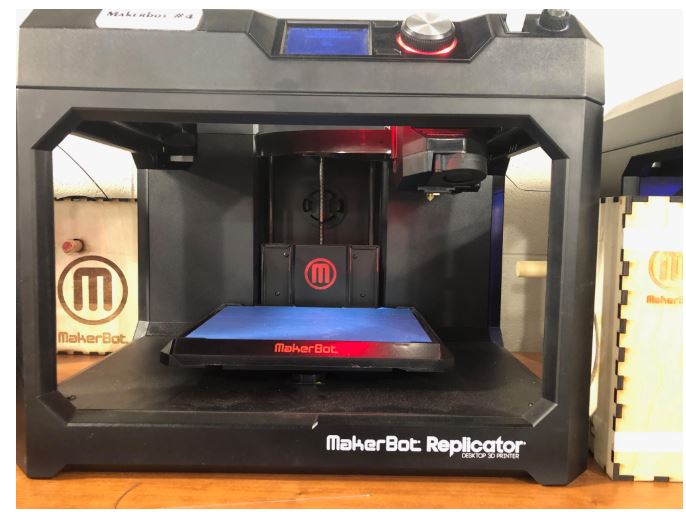
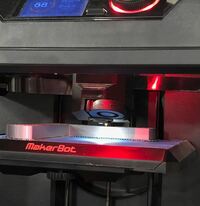
3D Printer |
|
|
|
|

|
|
|
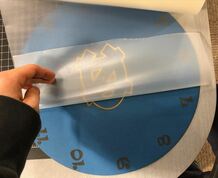
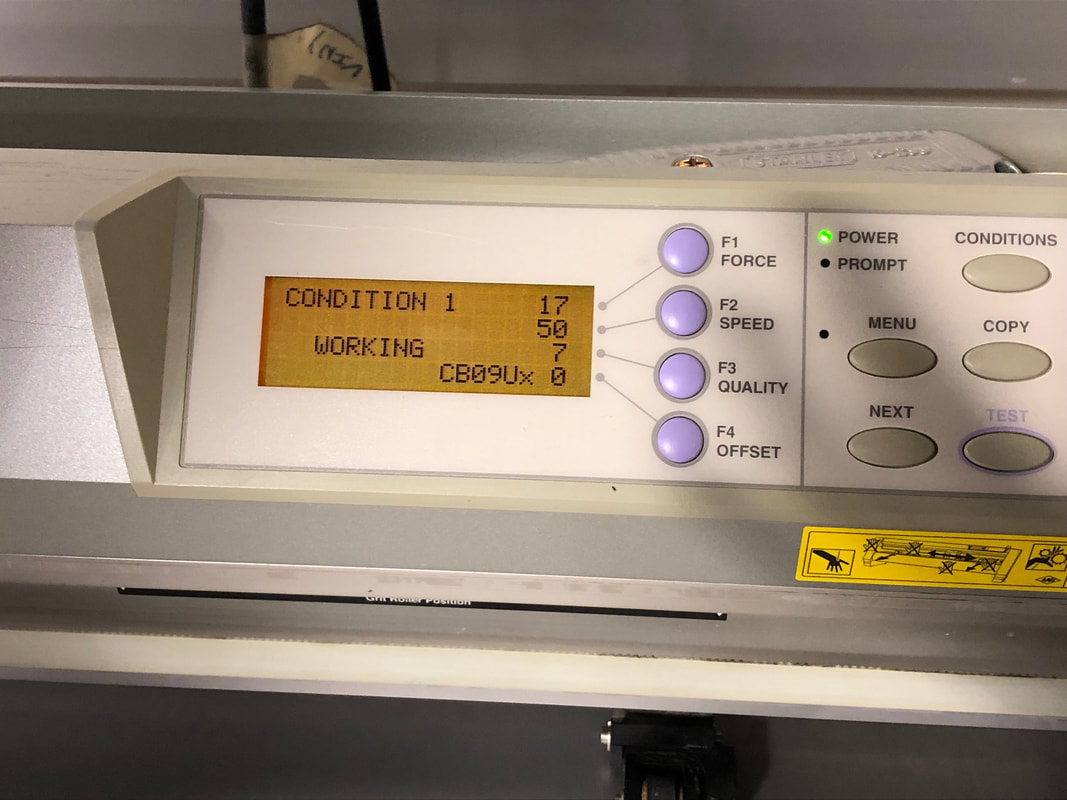
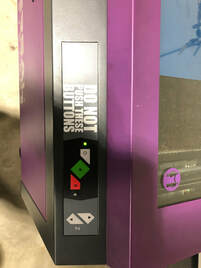
Vinyl |
|
|
|
|
|
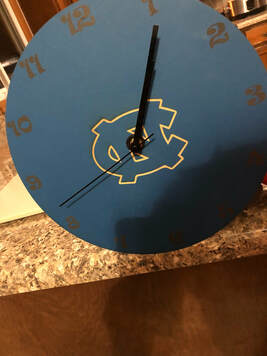
Clock Doing Its Job
|
|
